How To Dry Curly Hair Without Frizz
Welcome to the ultimate guide to drying curly hair! If you have curly hair, you know the struggle of dealing with frizz and undefined curls.
In this comprehensive guide, we will walk you through the best techniques and tips for drying your curly hair, including air drying, plopping, and using a diffuser to speed up the process so you can embrace your natural curls!
Understanding curly hair and its challenges
Curly hair, with its mesmerizing spirals and waves, is undeniably beautiful. However, beneath its beauty lies a delicate structure that presents unique challenges.
Moisture Matters:
One of the most pronounced challenges with curly hair is its tendency to dry out. Due to the twists and turns of curly strands, natural oils from the scalp find it harder to travel down the hair’s length. This often results in drier ends and a thirst for added moisture.
The Frizz Factor:
Because of its drier nature, curly hair is more prone to frizz. Humidity can make this even worse, as thirsty curly hair absorbs moisture from the air, causing the hair cuticle to swell and lead to that dreaded frizzy look.

Breakage and Damage:
Curly hair is inherently more fragile. The points where hair curls or twists are potential breaking points. Add to this the dryness factor, and you have a hair type that requires gentle handling to prevent breakage and split ends.
Styling Struggles:
Finding the right products and techniques to define and enhance curls can be a journey. Many mainstream products can weigh curly hair down or lead to product build-up. Moreover, heat styling, if not done correctly, can distort curl patterns and lead to further damage.
Prepping your curly hair for drying
Prepping your hair for drying is an important step in achieving the best results. By using the right products and techniques, you can set your curls up for success and minimize frizz.
Choose the Right Shampoo and Conditioner
Start with products specifically designed for curly hair. These are made to provide the necessary hydration and to reduce frizz. While washing, use lukewarm water. Hot water can strip natural oils, intensifying dryness.
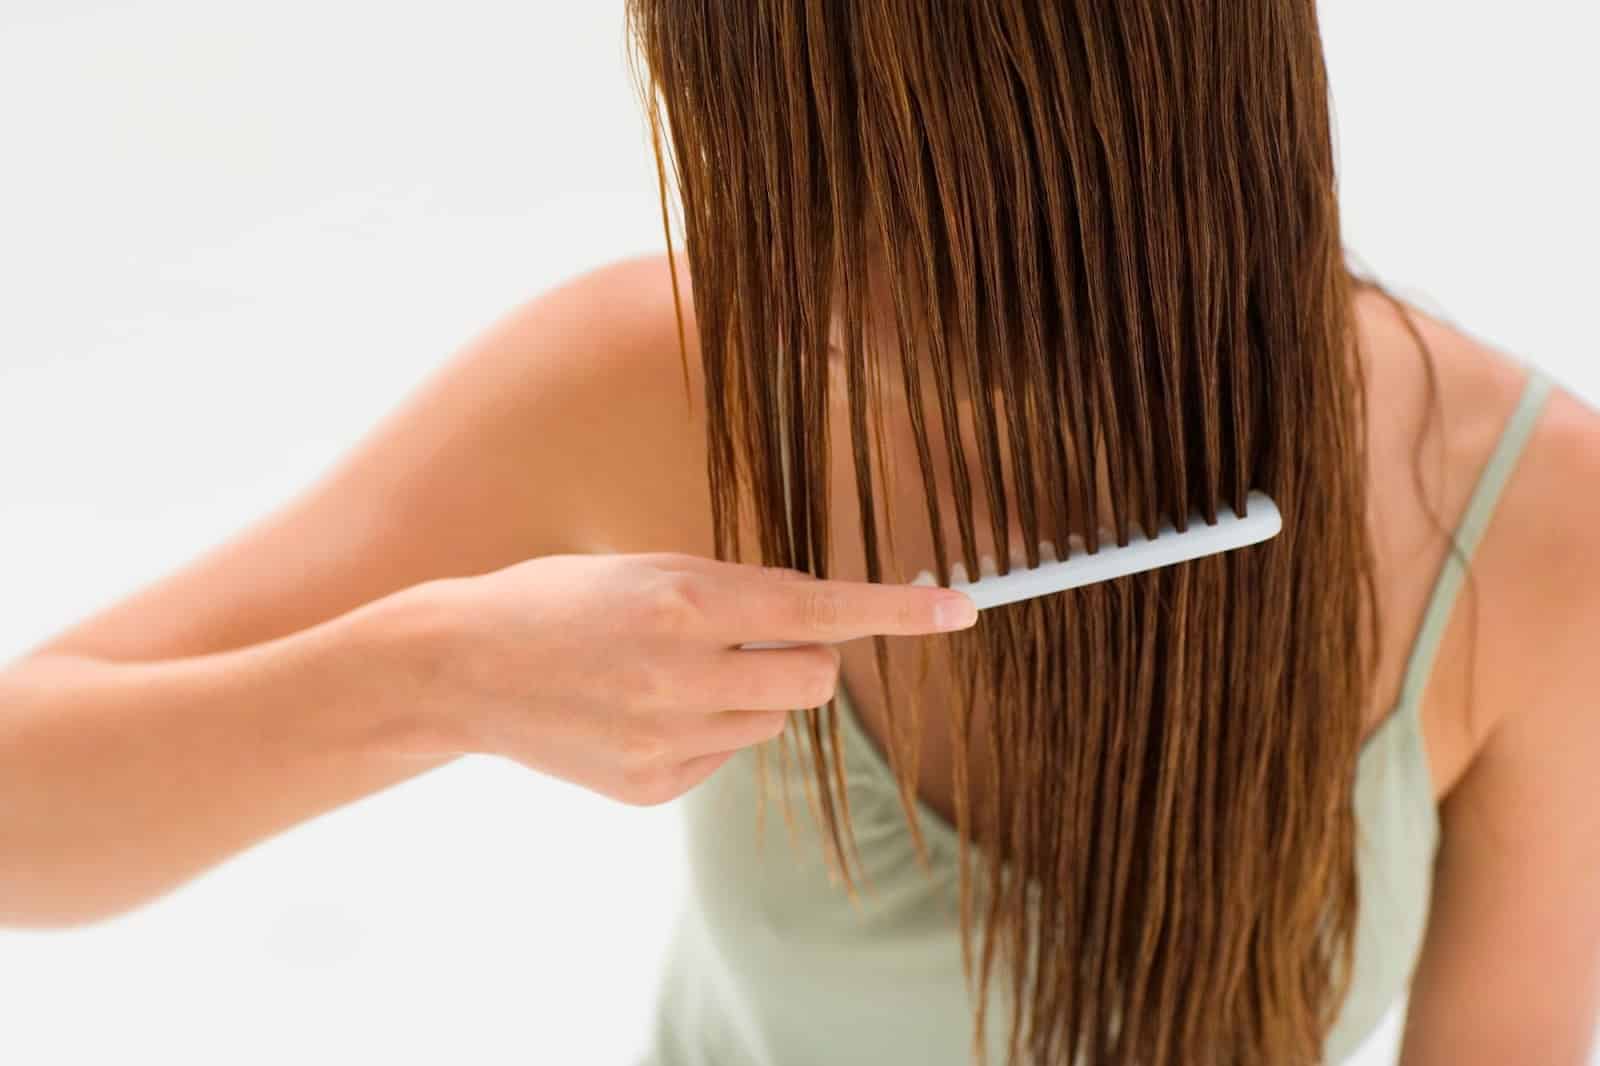
Detangle with Care
Curly hair is especially prone to tangling. After conditioning, while your hair is still wet and saturated with conditioner, use a wide-tooth comb or your fingers to gently detangle. Start at the tips and work your way up to reduce breakage.
Rinse with Cool Water
Before stepping out of the shower, give your hair a final rinse with cool water. This helps close the hair cuticle, promoting shine and reduces potential frizz.
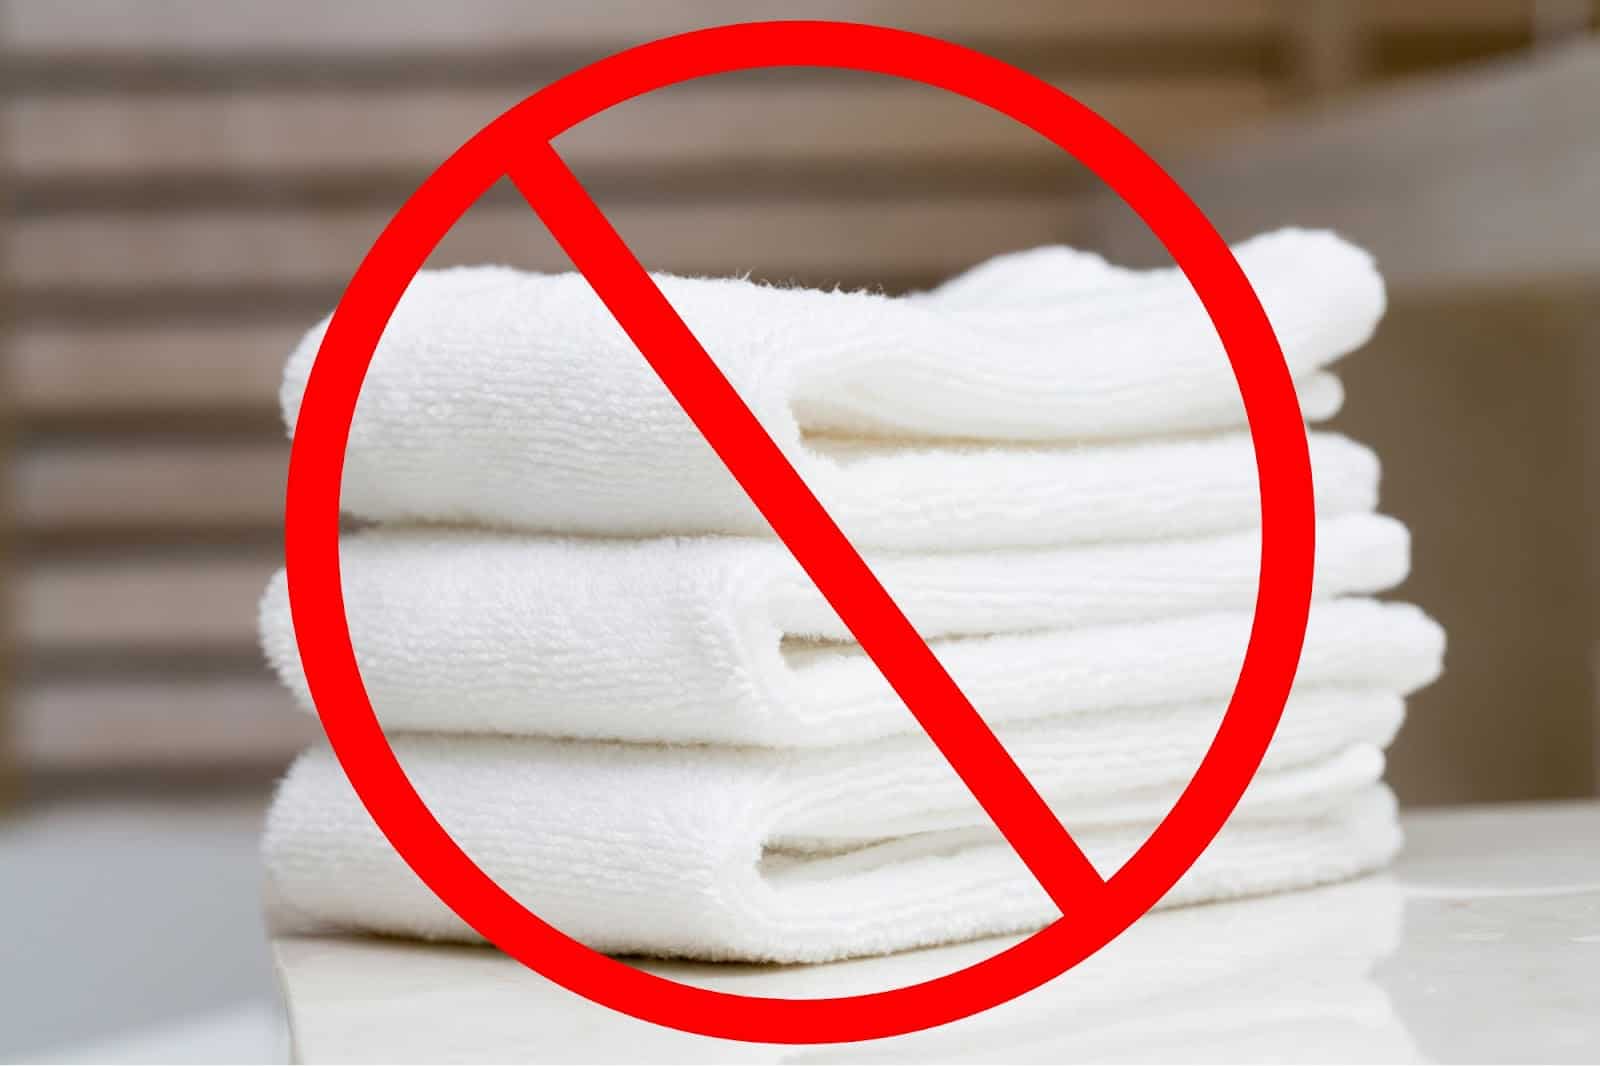
Avoid Harsh Towels
Steer clear of traditional terrycloth towels; their textured fibers can rough up the hair cuticle, leading to frizz. Instead, opt for a microfiber towel or a soft cotton t-shirt to blot and absorb excess water.
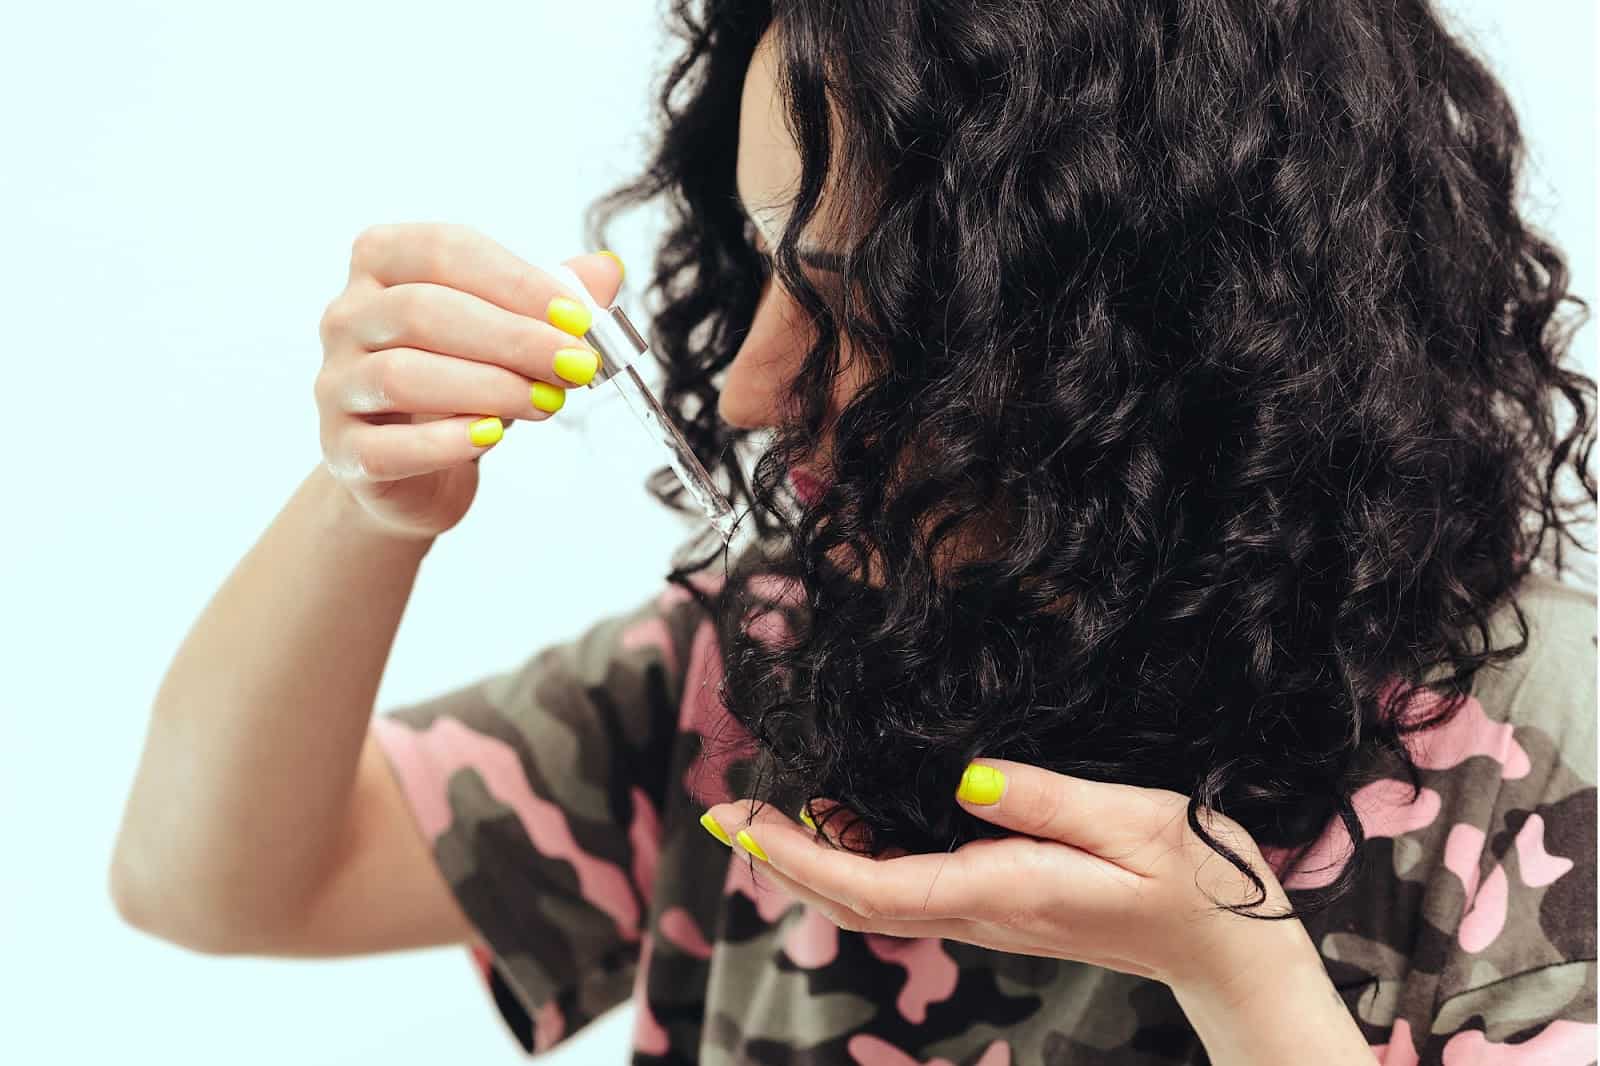
Apply a Leave-in Conditioner or Curl Enhancer
For added moisture and curl definition, apply a leave-in conditioner or a curl-enhancing product. This creates a protective barrier, preventing frizz and setting the foundation for well-defined curls as they dry.
Section Your Hair
Before starting any drying technique, consider sectioning your hair. This ensures even product distribution and more manageable drying, especially if you have thick or dense curls.
Whether you’re air-drying, plopping, or using a diffuser, this foundation will amplify your results, leading to consistently beautiful hair.
Air drying curly hair
Air drying is one of the most natural and gentle methods to dry curly hair. It allows your curls to set at their own pace without any external disturbances, preserving their natural shape and minimizing frizz.
Let’s dive into the steps to achieve perfectly air-dried curls.
1. Start with Properly Prepped Hair:
As we discussed earlier, ensure your hair is well-conditioned, detangled, and free from excess water. Blot your hair gently with a microfiber towel or cotton t-shirt, ensuring you don’t disturb the natural curl pattern.
2. Apply a Curl Defining Product:
Post blotting, apply a lightweight curl defining cream or serum. This not only enhances your curls but also offers protection against environmental factors, like humidity, which can lead to frizz.
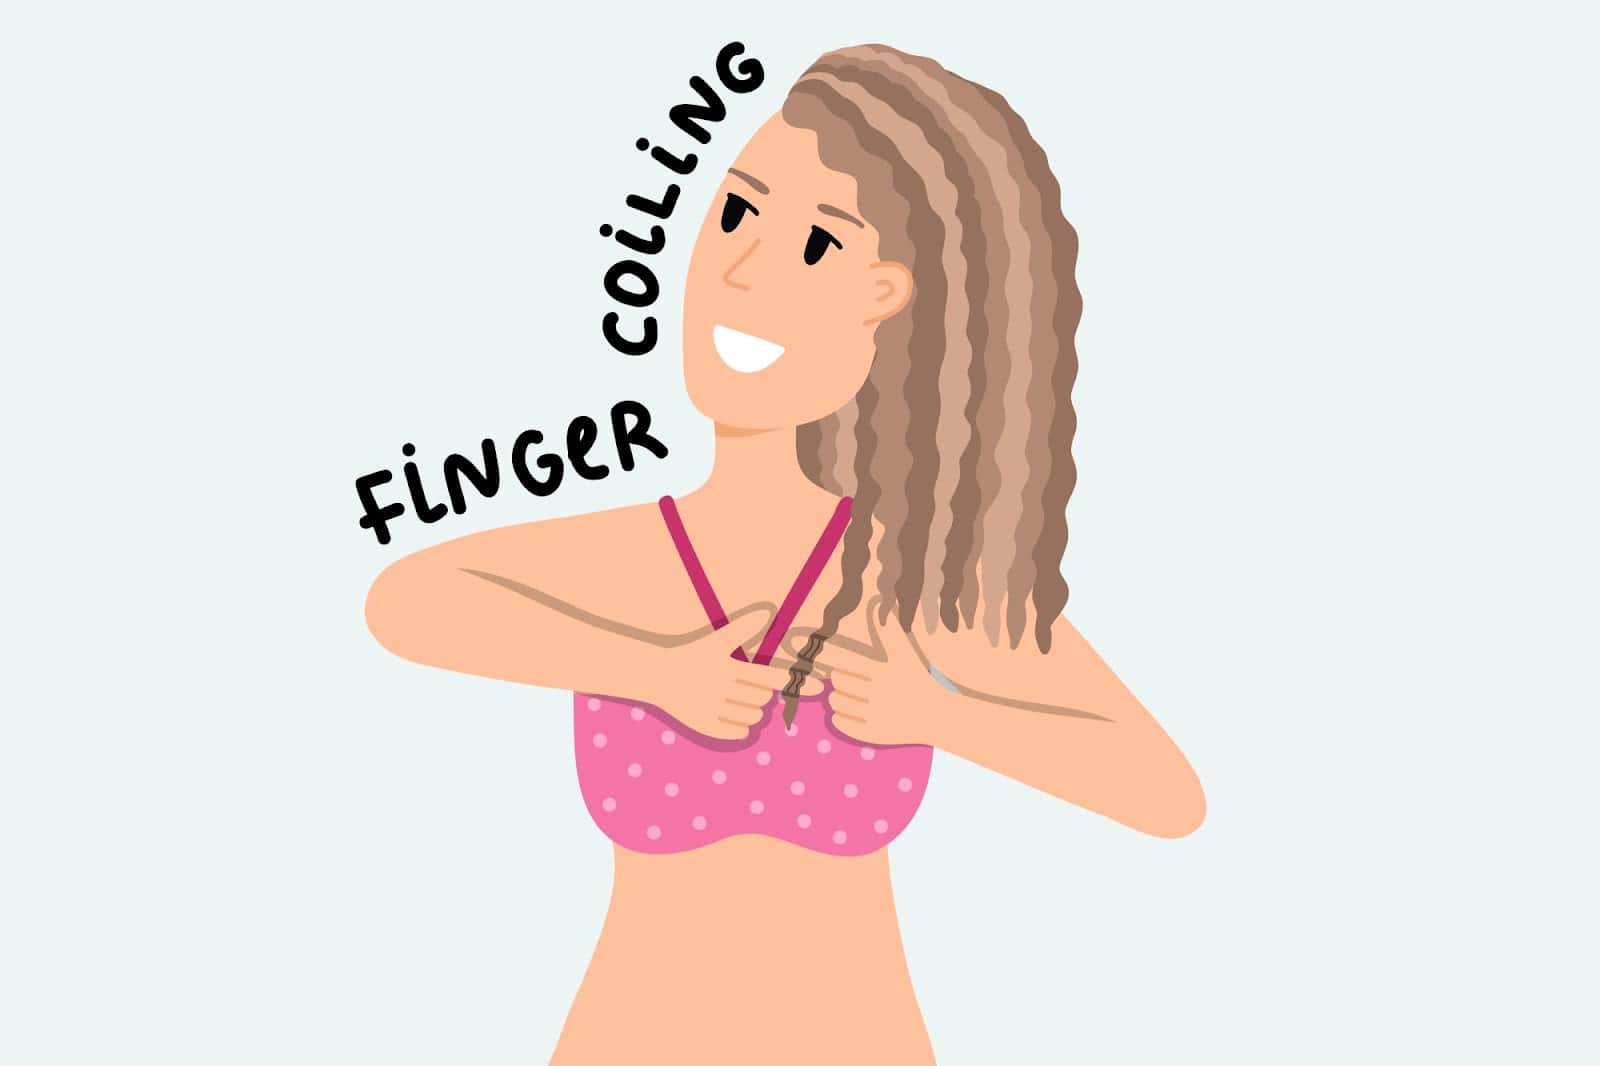
3. Set Your Curls:
For those desiring a more defined curl pattern, take small sections of damp hair, twirl them around your fingers, and release. This simple technique helps in defining the natural curl pattern.
4. Resist the Temptation to Touch:
One of the cardinal rules of air drying curly hair is to let it be. Constantly touching or scrunching the hair can introduce frizz and disrupt curl formation. Patience is key!
5. Maintain Volume at the Roots:
To prevent your roots from falling flat as your hair dries, consider clipping the roots up, using root clips. This ensures volume is maintained throughout the drying process.
6. Fluff and Separate:
Once your hair is completely dry, use your fingertips or a wide-tooth comb to gently separate and fluff your curls. This enhances volume and gives your hair a lively, bouncy finish.

Air drying may be a time-consuming process compared to other drying methods – for instance, it takes my hair up to 8 hours to air dry fully! However, its gentle approach is unmatched.
From personal experience, I’ve found that air drying gives me the best frizz-free version of my curls. Not only does this method promote the health and longevity of your curls, but with a little patience, you’re rewarded with a gorgeous, natural curly look that’s worth the wait.
Plopping curly hair
Plopping is a curly hair community favorite, a method that uses the gentle embrace of a microfiber towel or t-shirt to elevate your curls’ natural beauty. By “plopping” your wet hair into a cloth and tying it up, you provide a non-disruptive environment for your curls to set, keeping them stacked atop your head and preventing them from being weighed down.
Follow these steps for plopping your hair to reveal defined curls with minimal fuss.
1. Start with damp hair.
After washing and conditioning your hair, ensure you’ve removed excess water by gently blotting with a microfiber towel or t-shirt. Your hair should be damp but not dripping wet.
2. Apply your favorite styling products.
Before plopping, apply curl creams, leave-in conditioners, or any other favorite styling products to help shape and hold your curls. Be sure your products are evenly distributed for consistent results.
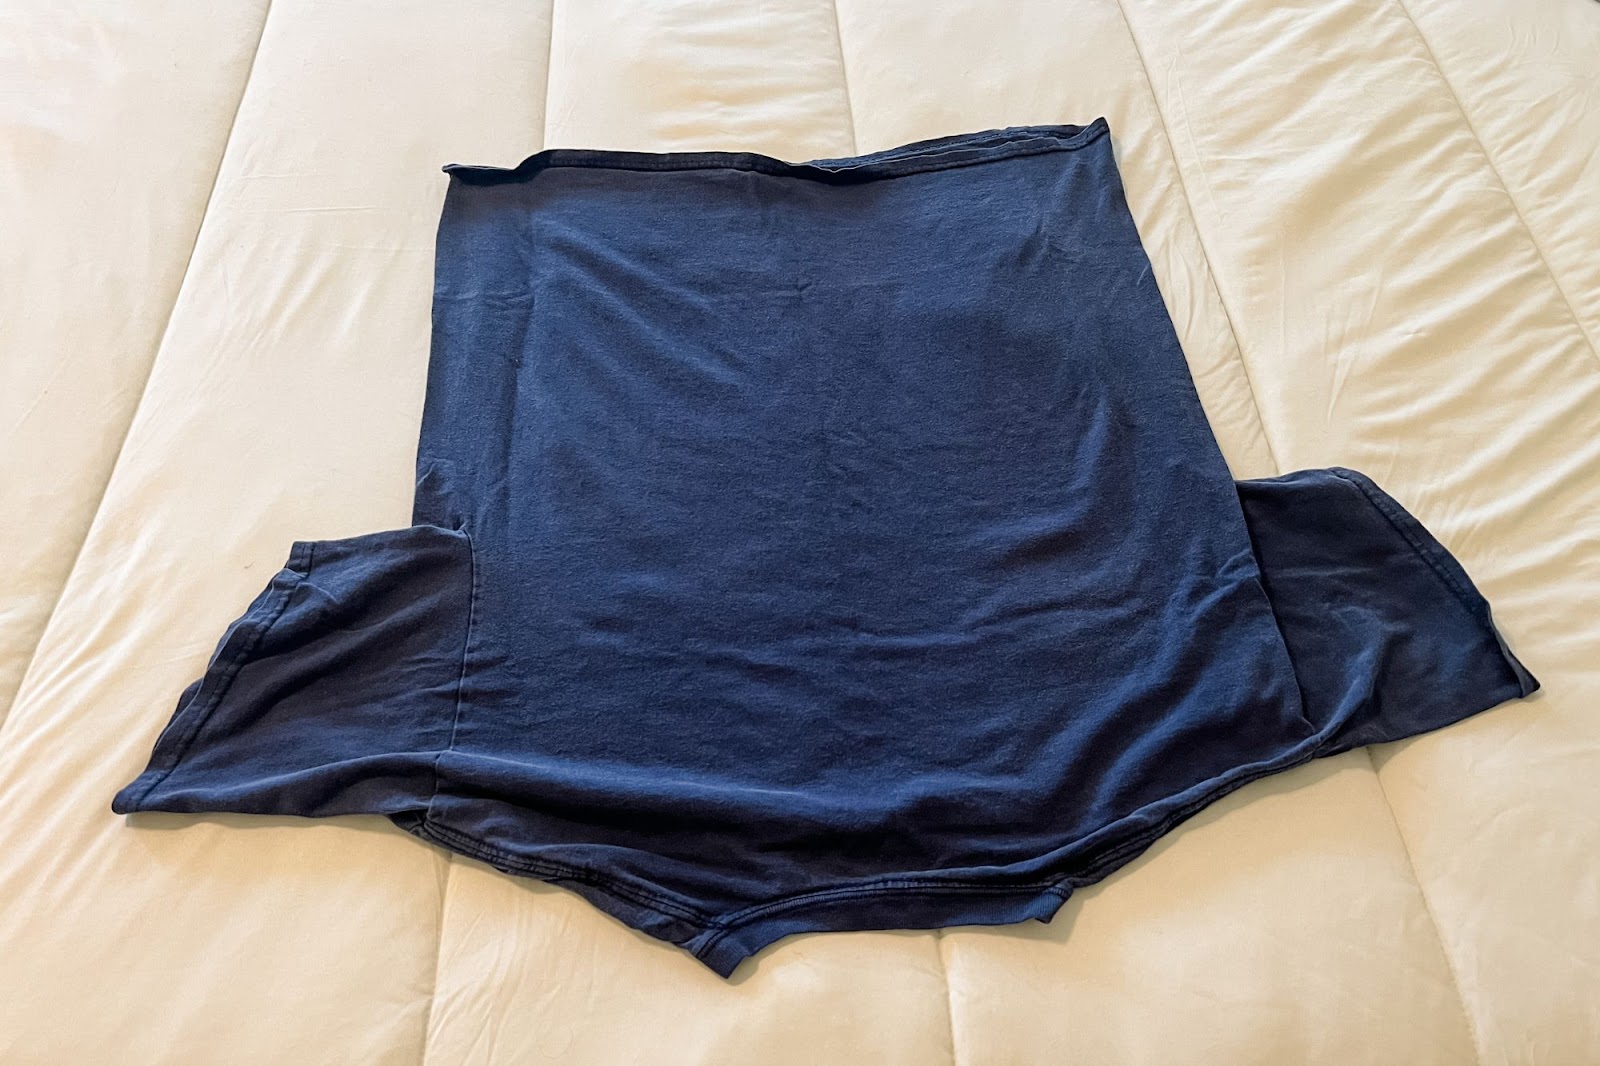
3. Lay out your cloth.
Place your microfiber towel or t-shirt flat on a surface with the sleeves (if using a t-shirt) closest to you. I personally like to lay my towel or t-shirt flat on my bed.
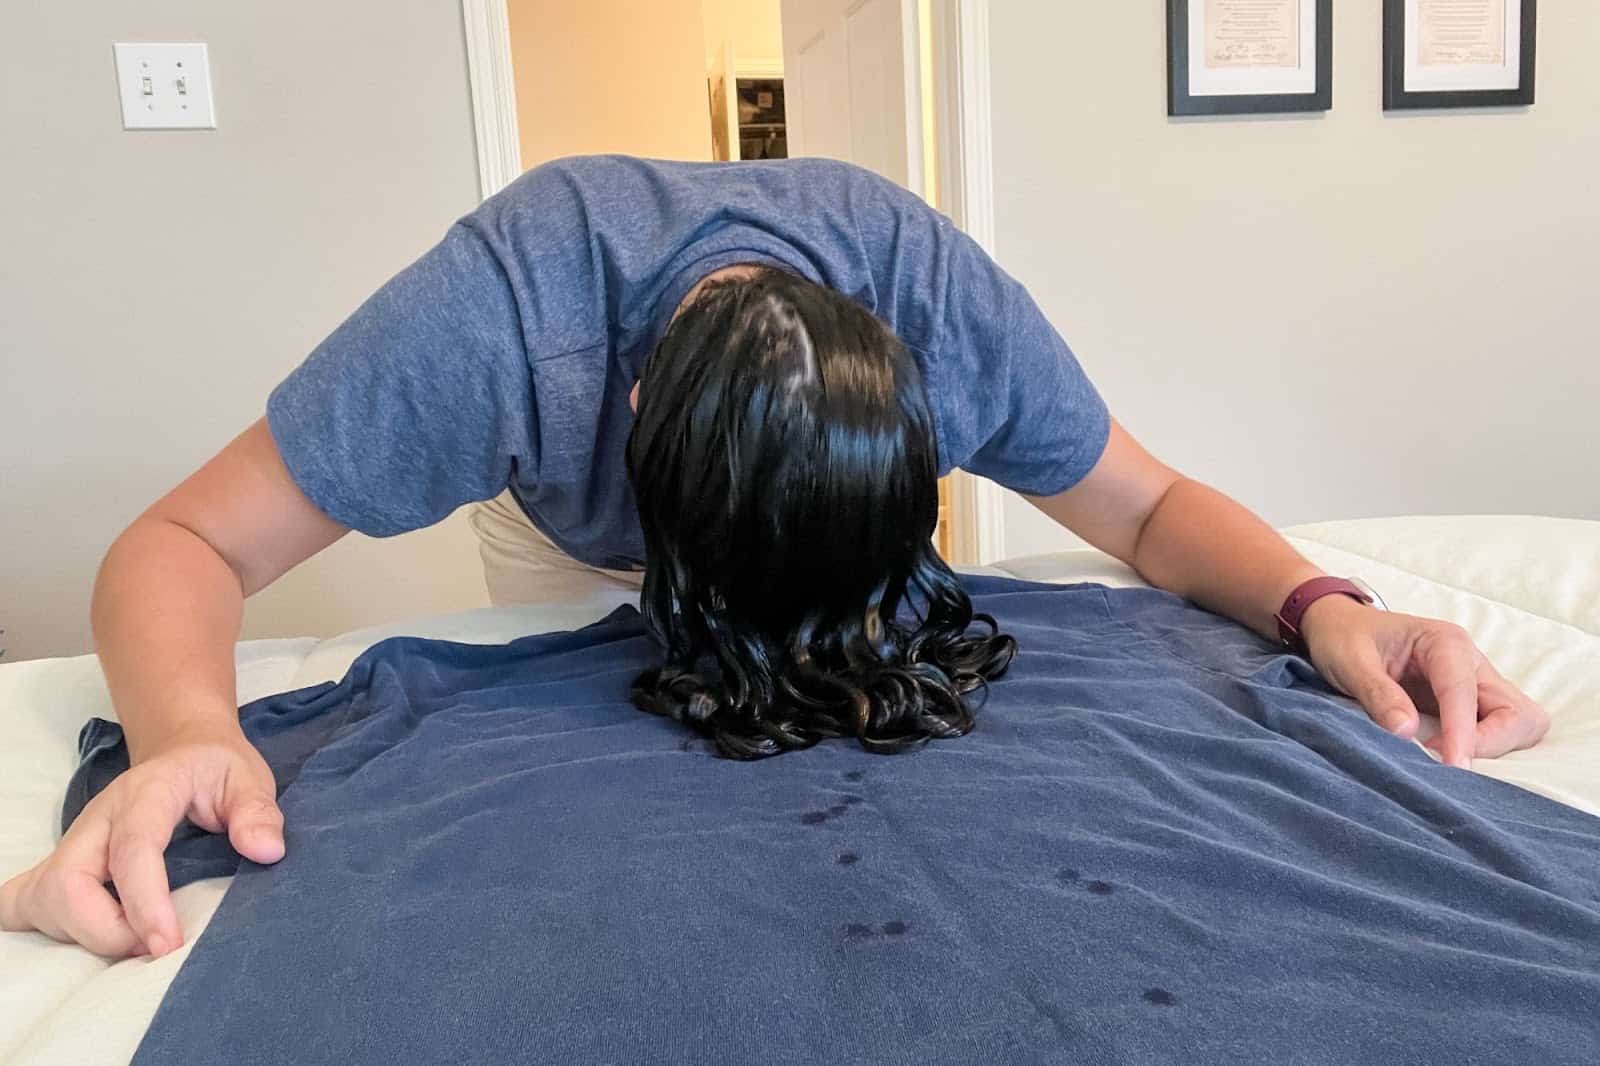
4. Position and plop.
Bend forward, letting your hair naturally fall in front of you. Now, lower your head slowly onto the cloth so that all your hair is piled in the center.
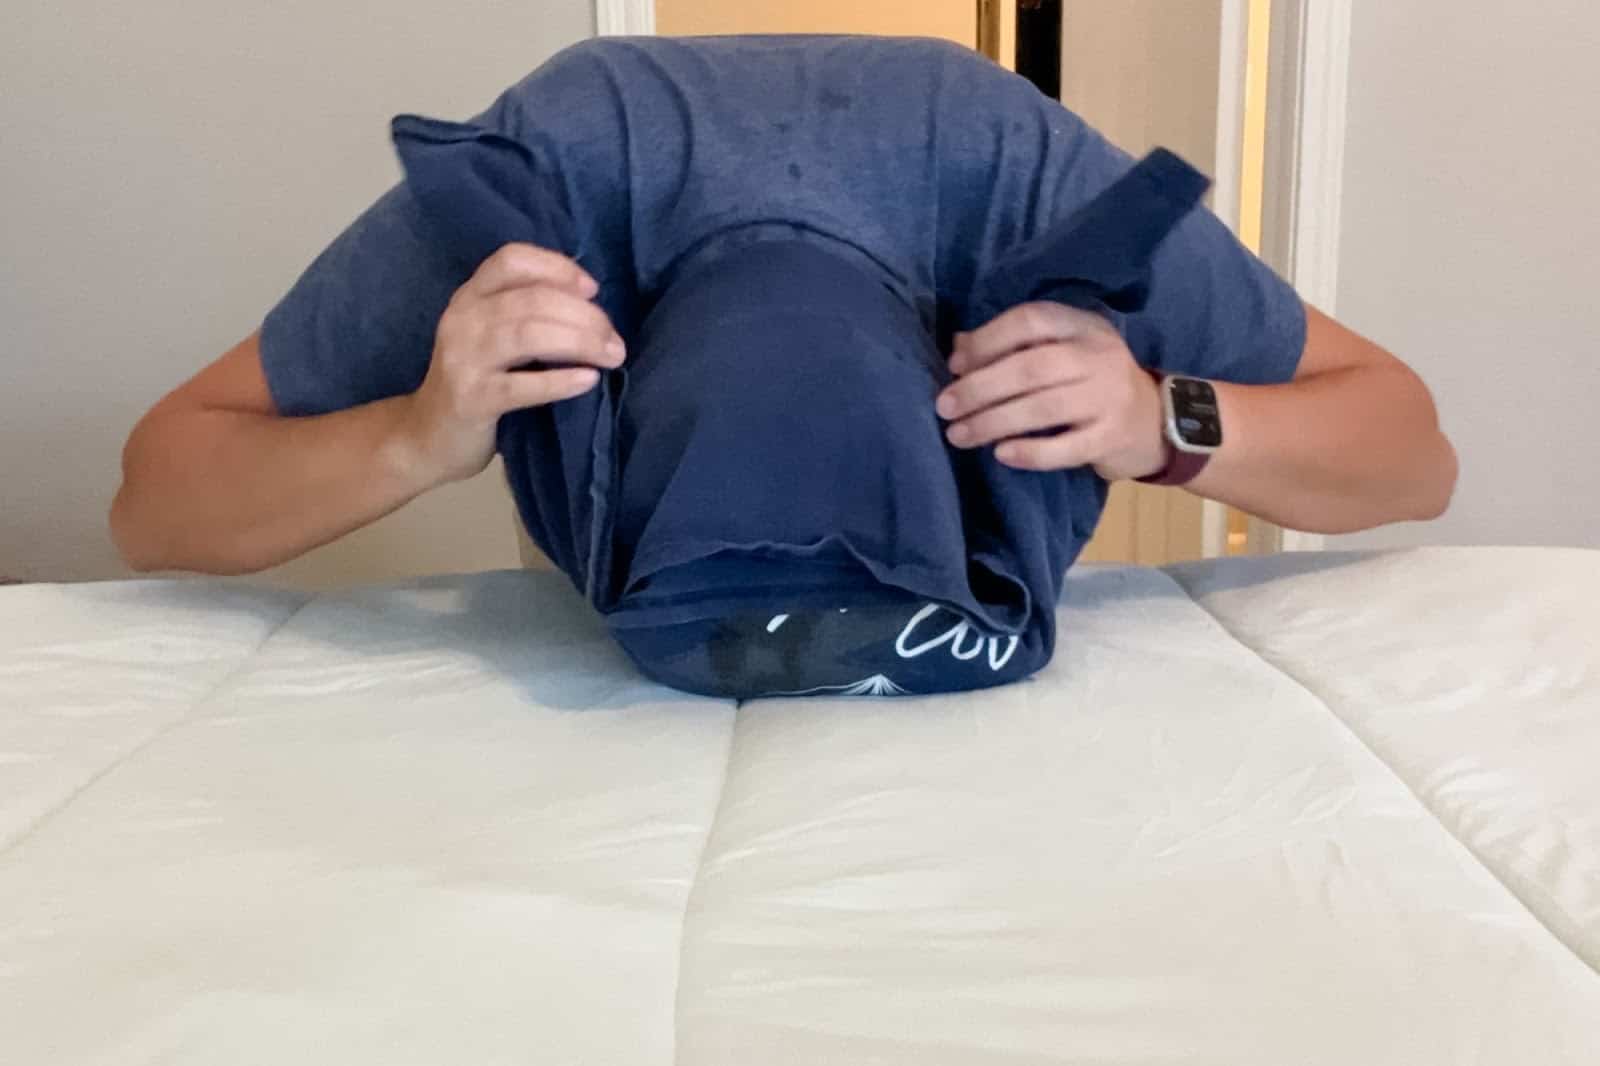
5. Wrap and secure.
Take the far edge of the cloth and pull it over the back of your head. If using a t-shirt, use the sleeves to tie a knot, securing it in place. For a microfiber towel, you might need a hair tie or clip to keep it secure.
6. Allow time to set.
Depending on your hair’s thickness and length, you can leave the wrap in place for anywhere from 5 minutes to an hour, or even overnight. The goal is to allow the cloth to absorb excess moisture while your curls set in their natural pattern.
Unveil and style.
Gently unwrap your hair and shake out your curls. You’ll notice they have a natural, enhanced definition. Finish with a light hair oil or serum to lock in moisture and add shine. Your hair might still be wet – that’s okay! You can let your hair air dry or use a diffuser to speed up the process.
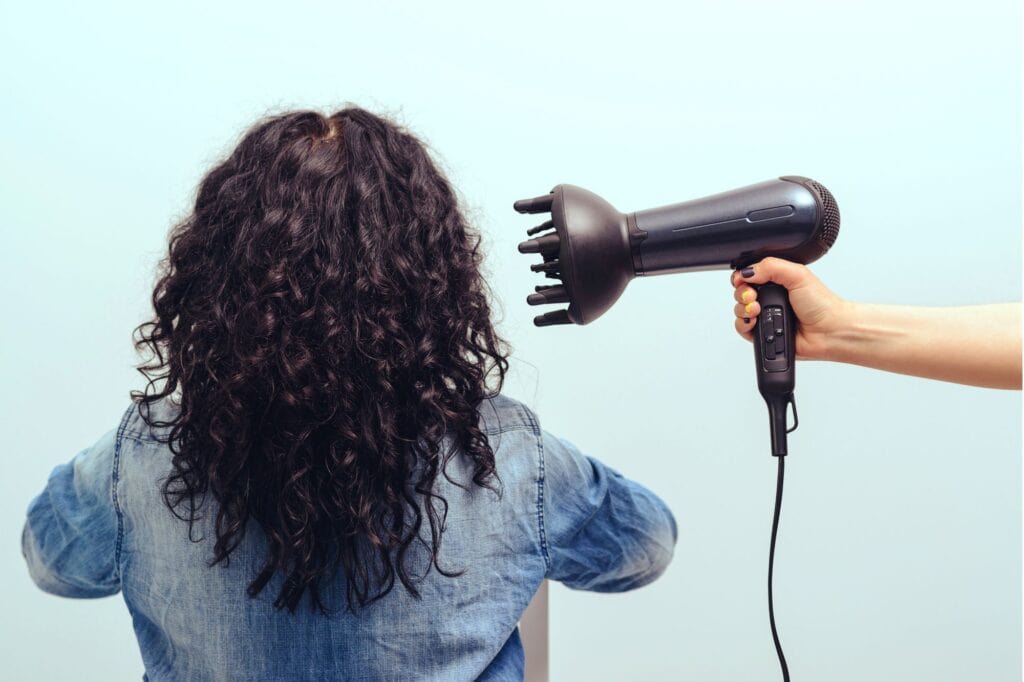
Diffusing curly hair – the ultimate tool for defined curls
For those with curly hair who don’t have hours to wait for their curly hair to naturally dry, a diffuser is the perfect solution. Instead of the disruptive airflow of traditional hair dryers that can lead to frizz and misshapen curls, a diffuser gently and evenly spreads air.
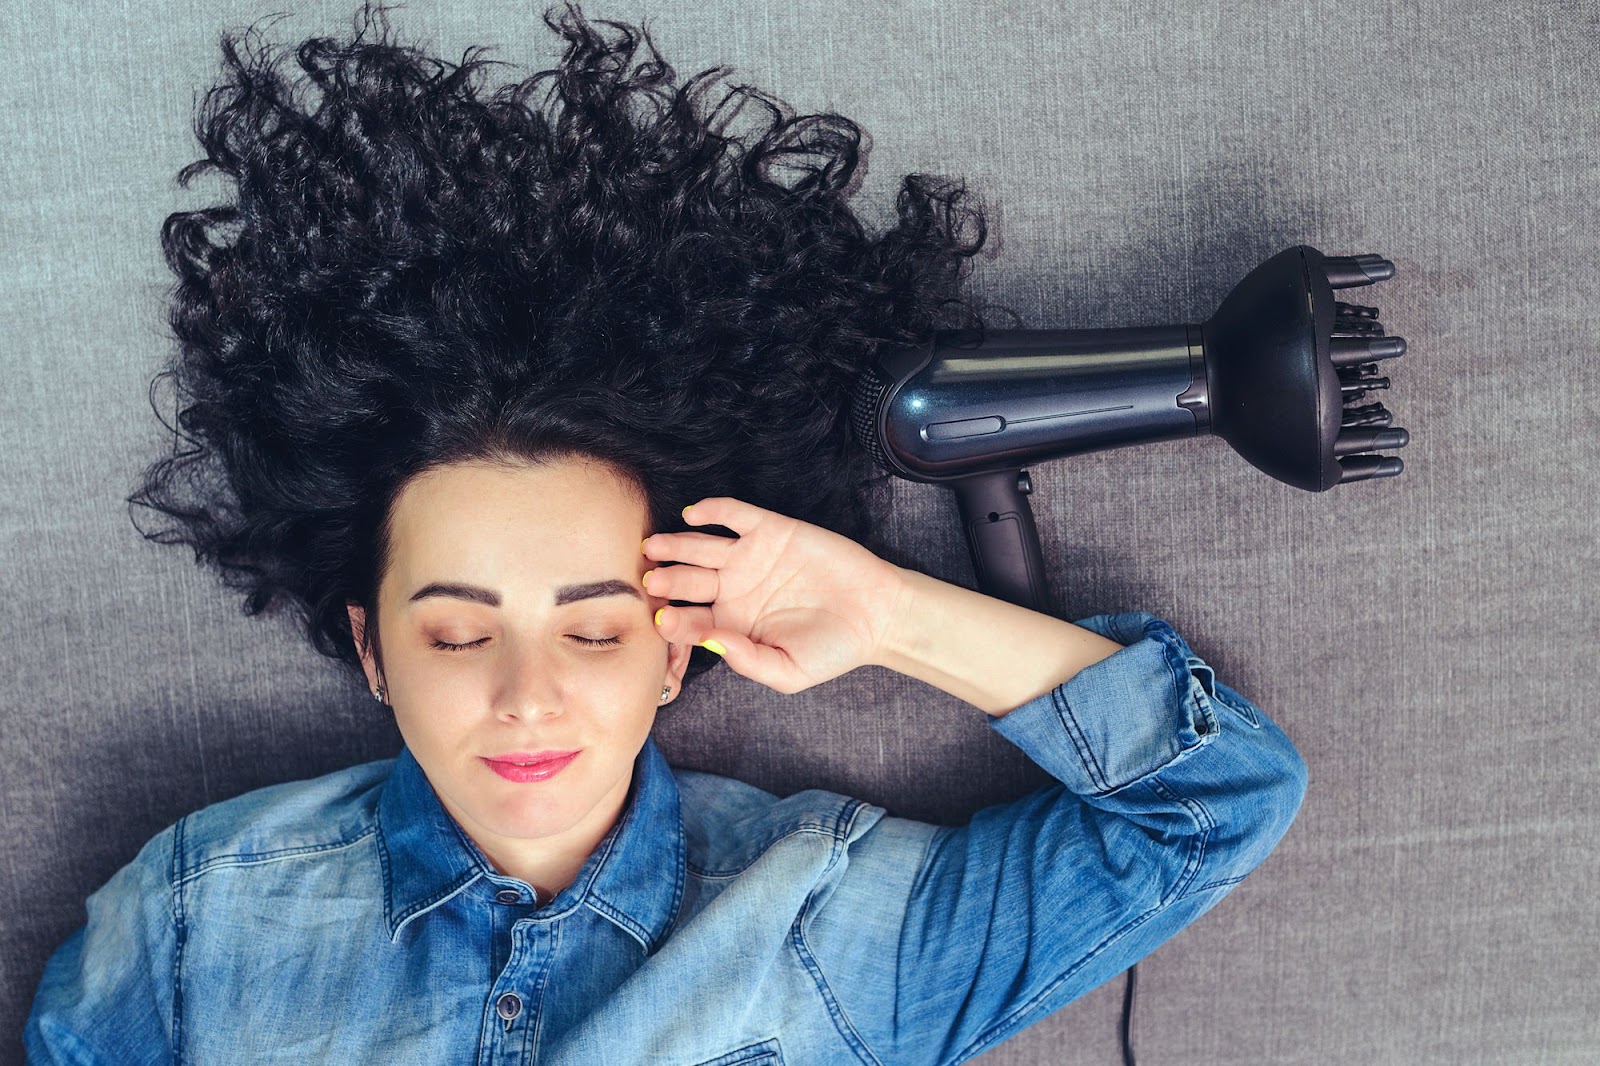
This not only retains the curl’s natural form but also adds a boost of volume. Follow these steps for diffusing your curly hair.
1. Begin with damp hair.
Start with hair that’s been freshly washed and conditioned. Remove excess water by gently squeezing with a microfiber towel or t-shirt. You want your hair to be damp, not dripping.
2. Apply a heat protectant.
Even when using a diffuser, it’s essential to shield your hair from potential heat damage. Apply a heat protectant evenly throughout your hair.
3. Introduce curl defining products.
Use your preferred curl creams or serums to help hold and define your curls. These products work in tandem with the diffuser to amplify the curl’s natural pattern.
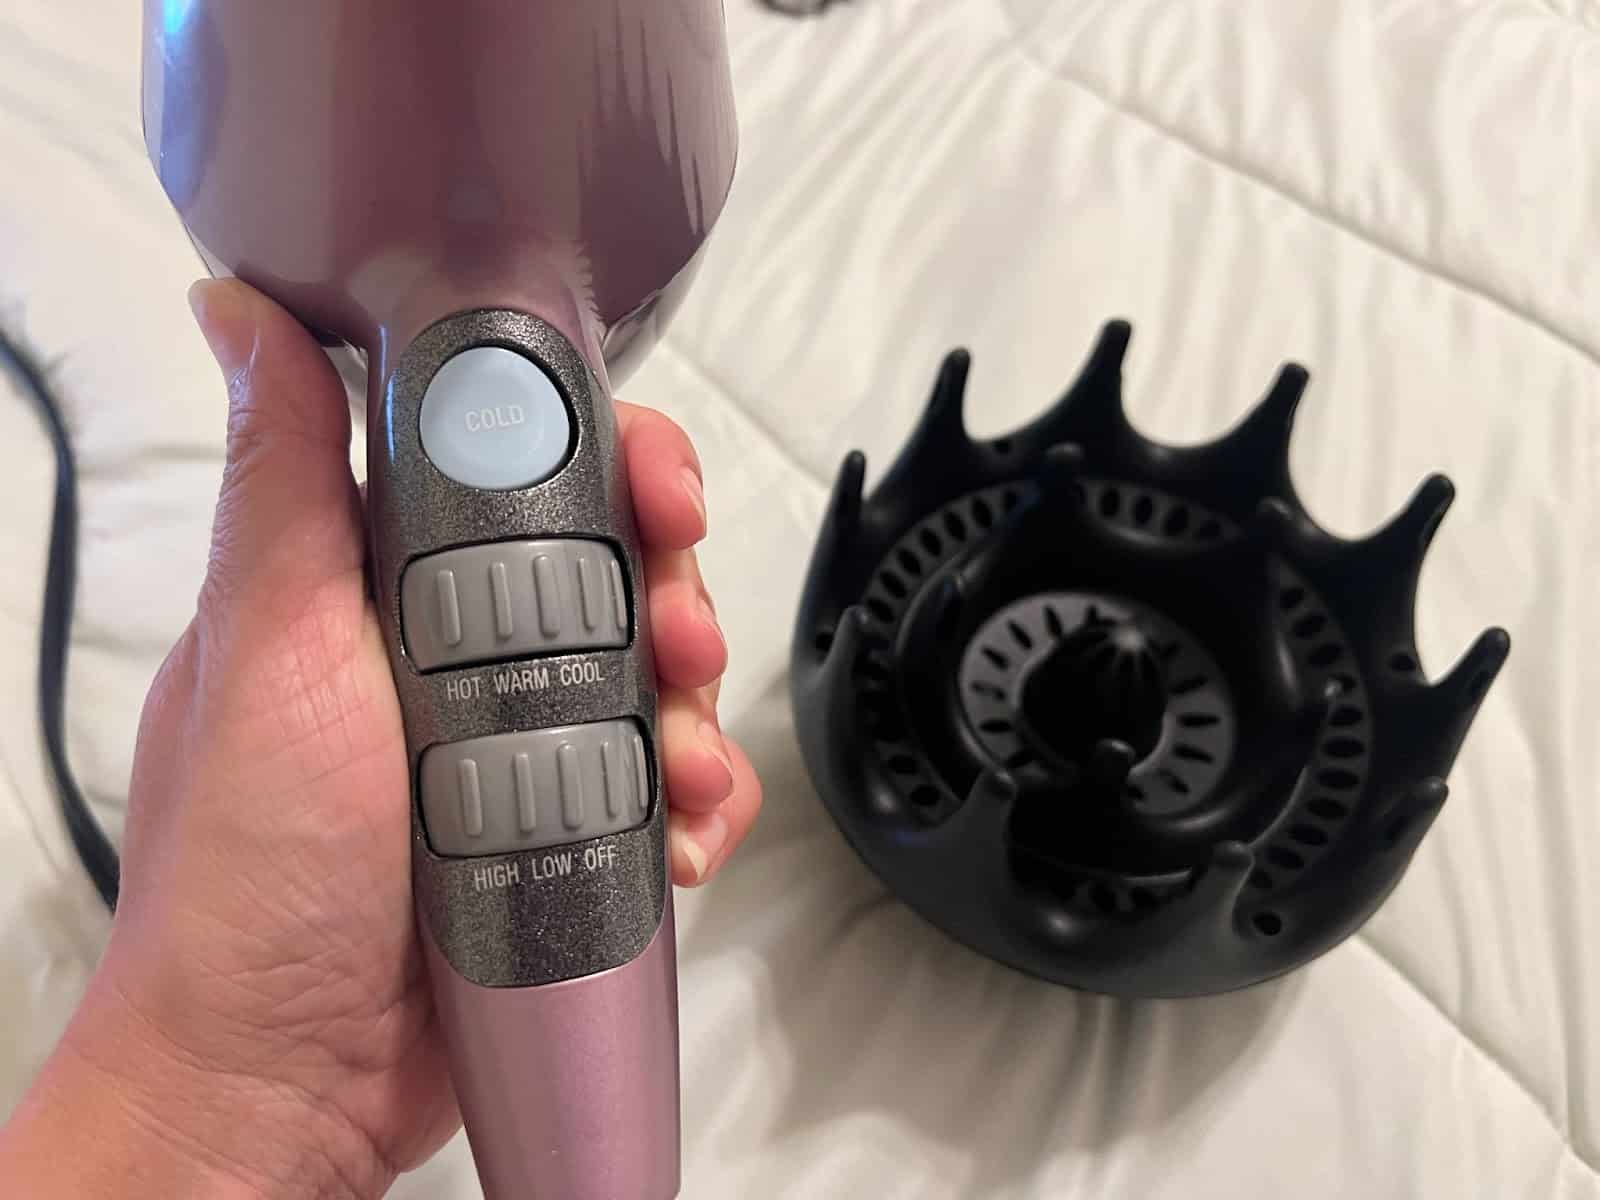
4. Prep your dryer.
Attach the diffuser to your hairdryer. For the initial stages, especially hover diffusing, use a low heat and speed setting to prevent hair disturbance.
5. Start with hover diffusing.
Before touching the hair, hover the diffuser around your head, focusing on the root area. The aim is to set the roots and create volume without direct contact. This step is crucial because it begins the drying process without weighing down the roots or disrupting the curl pattern. Spend about 5-10 minutes on this phase, ensuring even heat distribution.
6. Diffuse in sections.
Once the roots are partially set, move on to diffusing in sections. Gather a section of your curls into the bowl of the diffuser, pushing upwards towards your scalp. Hold for a few seconds to allow the curls to dry slightly, then move to another section. Repeat this process for even heat distribution across your entire head.

7. Maintain low heat and speed.
To protect your curls and prevent frizz, it’s best to use a low to medium heat setting and a slower speed. This gentle drying process might take longer, but it’s worth the wait for the health and beauty of your curls.
8. Cool down.
Once your hair is mostly dry, switch your dryer to the cool setting and give your hair a quick once-over. This helps to seal the hair cuticle, promoting shine and reducing potential frizz.
9. Style and shape.
After diffusing, you might want to use your fingers or a wide-tooth comb to separate and fluff out your curls. A light hair oil or serum can add a finishing touch, ensuring your curls are shiny, bouncy, and frizz-free.
Diffusing has been a lifesaver for me on days when I shower at night and want my hair to be dry before heading to bed. Sleeping with wet hair often leaves my curls a tad wild and unpredictable, so I’ve found diffusing to be the perfect solution in those time-crunch situations.
Getting the hang of diffusing can take a few tries – believe me, we’ve all been there. But once you nail it, the results are so worth it!
FAQ: Drying Curly Hair
Got questions about drying your curly hair? We’ve got answers. Dive into our frequently asked questions below for some quick insights.
Why can’t I just use a regular hair dryer on my curly hair?
Using a regular hair dryer without a diffuser can disrupt the natural curl pattern, leading to frizz and uneven drying. A diffuser attachment helps distribute the airflow evenly, preserving and enhancing your natural curls.
How long does it usually take for curly hair to air dry?
The time it takes for curly hair to air dry can vary greatly based on the hair’s thickness, density, and porosity. For some, it might take 2-3 hours, while for others, it can take 8 hours or more.
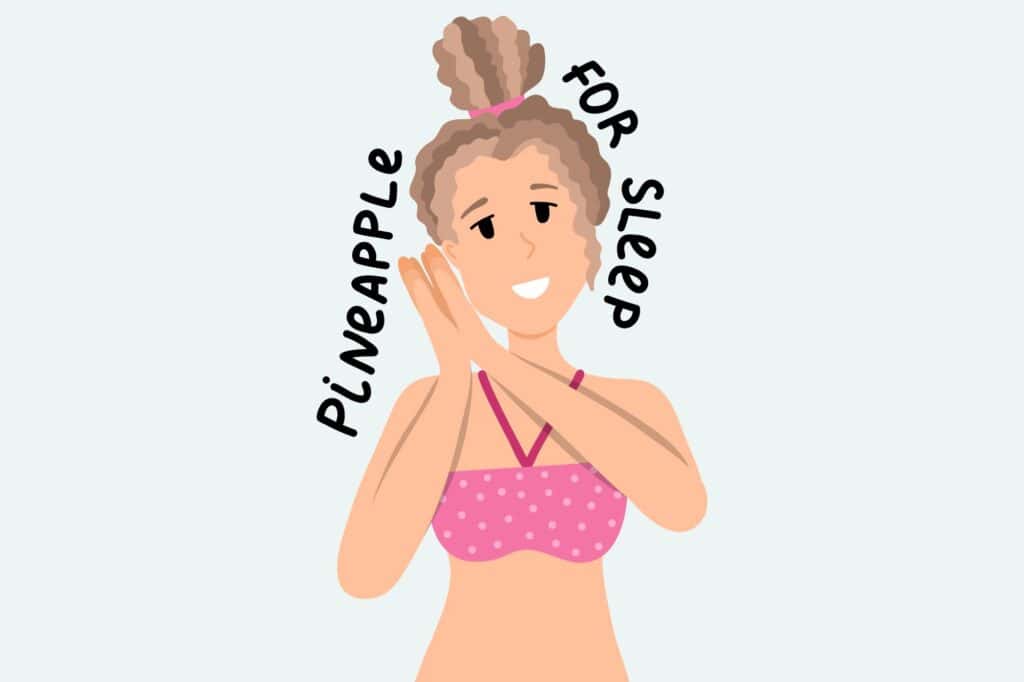
Is it bad to sleep with damp curly hair?
While it’s not inherently “bad,” sleeping with damp hair can sometimes lead to inconsistent curl patterns or increased frizz. If you do sleep with damp hair, consider using the pineapple method or sleeping on a silk or satin pillowcase to reduce friction.
How often should I wash and dry my curly hair?
Curly hair tends to be drier, so it often doesn’t require daily washing. Most curly-haired individuals find washing their hair 2-3 times a week (or even less) is sufficient. Overwashing can strip natural oils, leading to drier hair.
Why is my curly hair frizzy after drying?
Frizz can be caused by various factors: the technique used to dry, environmental humidity, product choice, or hair health. Make sure you’re using moisturizing products, gentle drying techniques, and protecting your hair from humidity and heat.
Can I use hairspray after drying my curly hair?
You can, but it’s important to choose a hairspray designed for curly hair or one that’s alcohol-free. Alcohol can dry out curly hair, leading to more frizz.
Why do some sections of my hair dry straighter than others?
Curly hair can have multiple textures on one head. Some areas might naturally be looser in curl pattern or affected by factors like heat damage or varied product application.
Should I brush my curly hair before or after drying?
It’s recommended to detangle curly hair when it’s wet and saturated with conditioner using a wide-tooth comb or your fingers. Brushing curly hair when it’s dry can lead to breakage and frizz.
Do I need different products for air drying versus diffusing?
While the foundational products (like leave-in conditioners and curl creams) can remain the same, you might want to use a heat protectant when diffusing, as you’re exposing your hair to direct heat.
Final Thoughts: Drying your natural curls
Embracing your curly hair’s natural beauty is all about understanding its unique needs and finding the right techniques to showcase its best self. From gentle air drying to the innovative magic of plopping and the efficiency of diffusing, there are numerous paths to achieving perfectly dried and defined curls.
The journey might involve a little trial and error, but with patience and the knowledge you’ve gathered here, you’re on your way to consistently fabulous curly hair days.